
How to Know When Your Brake Pads Are Actually Worn Out
The squeal is a warning on purpose. The grind means you waited too long.
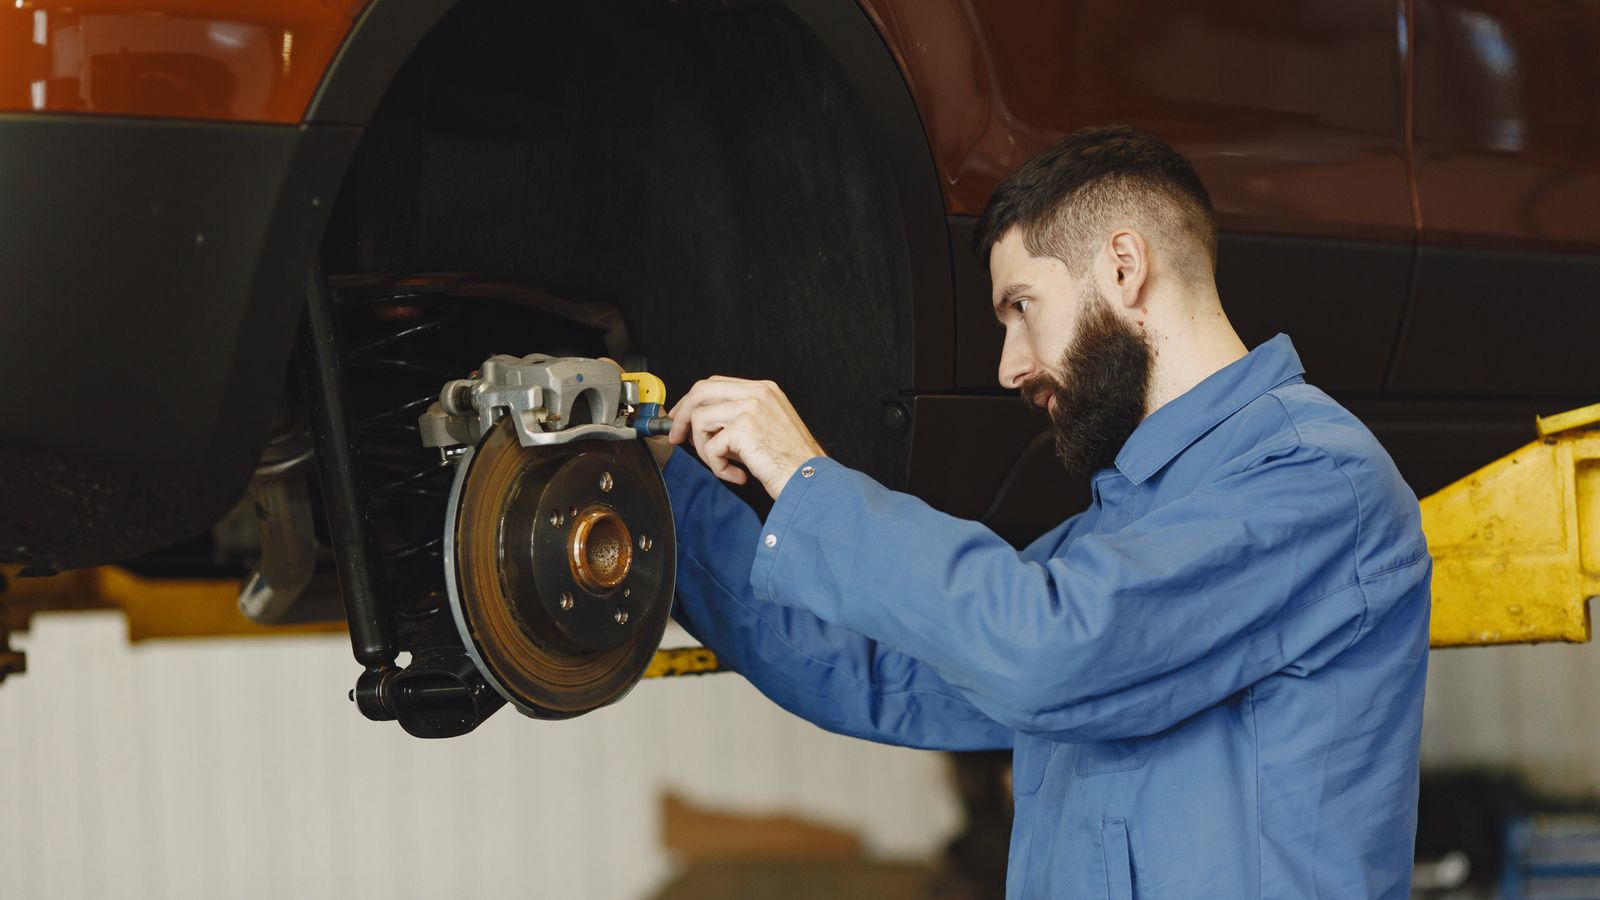
Brakes are the one system on your car you never gamble on. The reassuring part is that they're engineered to warn you clearly and well before they actually fail — if you know what to listen for and what to look at. Miss the early warnings, though, and a cheap pad job turns into an expensive rotor job, so it pays to catch the signs early.
Brake pads wear down gradually and announce it in a predictable order: first a squeal from a built-in warning tab, then thin pad you can see through the wheel, then changes in how the pedal feels — and finally a grind that means you've run out of pad entirely. Act at the squeal and it's a routine job; wait for the grind and you're buying rotors too.
The signs, from early to urgent
- A high-pitched squeal when you brake. That's the wear indicator — a small metal tab designed to just touch the rotor and squeal on purpose when the pad gets thin. It's your "order pads soon" alarm, not an emergency, but don't ignore it.
- Less than about 1/8 inch of pad left. Look through the wheel spokes at the pad squeezing the rotor. A new pad is roughly a half-inch of friction material; when it's down to about an eighth of an inch, it's time to replace them.
- A soft, low, or pulsing pedal, a pedal that sinks, or the car pulling to one side when you brake. Pulsing usually means warped rotors; a sinking pedal can mean a fluid problem — both deserve attention.
- A harsh metallic grinding. That's the steel backing plate dragging on the rotor because the friction material is gone. You've gone too far — every stop now is chewing grooves into the rotors and cutting into your stopping power.
How to check them yourself
- Eyeball them through the wheel. On most cars you can see the outer pad pressing against the rotor between the spokes. A flashlight helps. If there's clearly plenty of material, you're fine for now.
- For a real look, pull a wheel. Get the car safely on jack stands, take the wheel off, and you can measure the pad thickness directly and check the rotor surface for deep grooves or a lip at the edge.
- Check both sides. Pads don't always wear evenly — a sticky caliper can wear one side or one corner far faster, and finding that now saves you a repeat job.
Never keep driving on grinding brakes. Once you hear metal-on-metal, your stopping distance is getting longer with every mile, and you're destroying rotors that cost far more than pads. Grinding is not a "next weekend" problem — it's a "this is my next stop" problem.
Rotors, not just pads
Pads are only half the system. The rotor is the disc the pads clamp. If you caught the wear early, the rotors may just need a light check; if you let it grind, they're likely grooved and need resurfacing or replacement. A pulsing pedal under braking usually means the rotors are warped or unevenly worn. When you do a brake job, always inspect the rotors — new pads on bad rotors won't feel right and won't last.
Do brakes in axle pairs. Replace both front pads together, or both rear, even if only one side looks worn — matched pads keep braking even and predictable. And bed in new pads gently for the first hundred miles or so (moderate stops, no hard panic braking) to seat them properly against the rotors.
What replacing pads actually involves
Knowing what the job entails helps you decide whether to tackle it. On most cars it goes: get the wheel off on jack stands, unbolt the caliper (usually two bolts) and hang it from a wire so it isn't dangling by the hose, slide out the old pads, compress the caliper piston back into its bore with a C-clamp or piston tool to make room for the thicker new pads, drop the new pads in with a little brake grease on the contact points and clips, and bolt it all back to torque. Then — the step people forget — pump the brake pedal several times before you drive to push the pistons back out against the new pads, or your first stop will go straight to the floor.
None of it is exotic, but each step has a right way, and mistakes here don't forgive. If compressing a piston, torqueing a caliper bolt, or the phrase "bleed the brakes" makes you uneasy, that's your honest signal to let a shop do it. Confidence, not bravado, is the only qualification for brake work.
When to DIY and when to call a pro
A pad swap is a common, satisfying weekend job for someone comfortable with jack stands and a few hand tools, and doing it yourself saves a real chunk of labor. But brakes have zero margin for error — if you're not fully confident about caliper bolts, torque, and bleeding the system if it comes to that, this is a job worth paying for. There's no shame in it. What matters is that the car stops, every time. If in doubt, hand it to a pro — and never, ever drive on brakes that grind.
Keep going
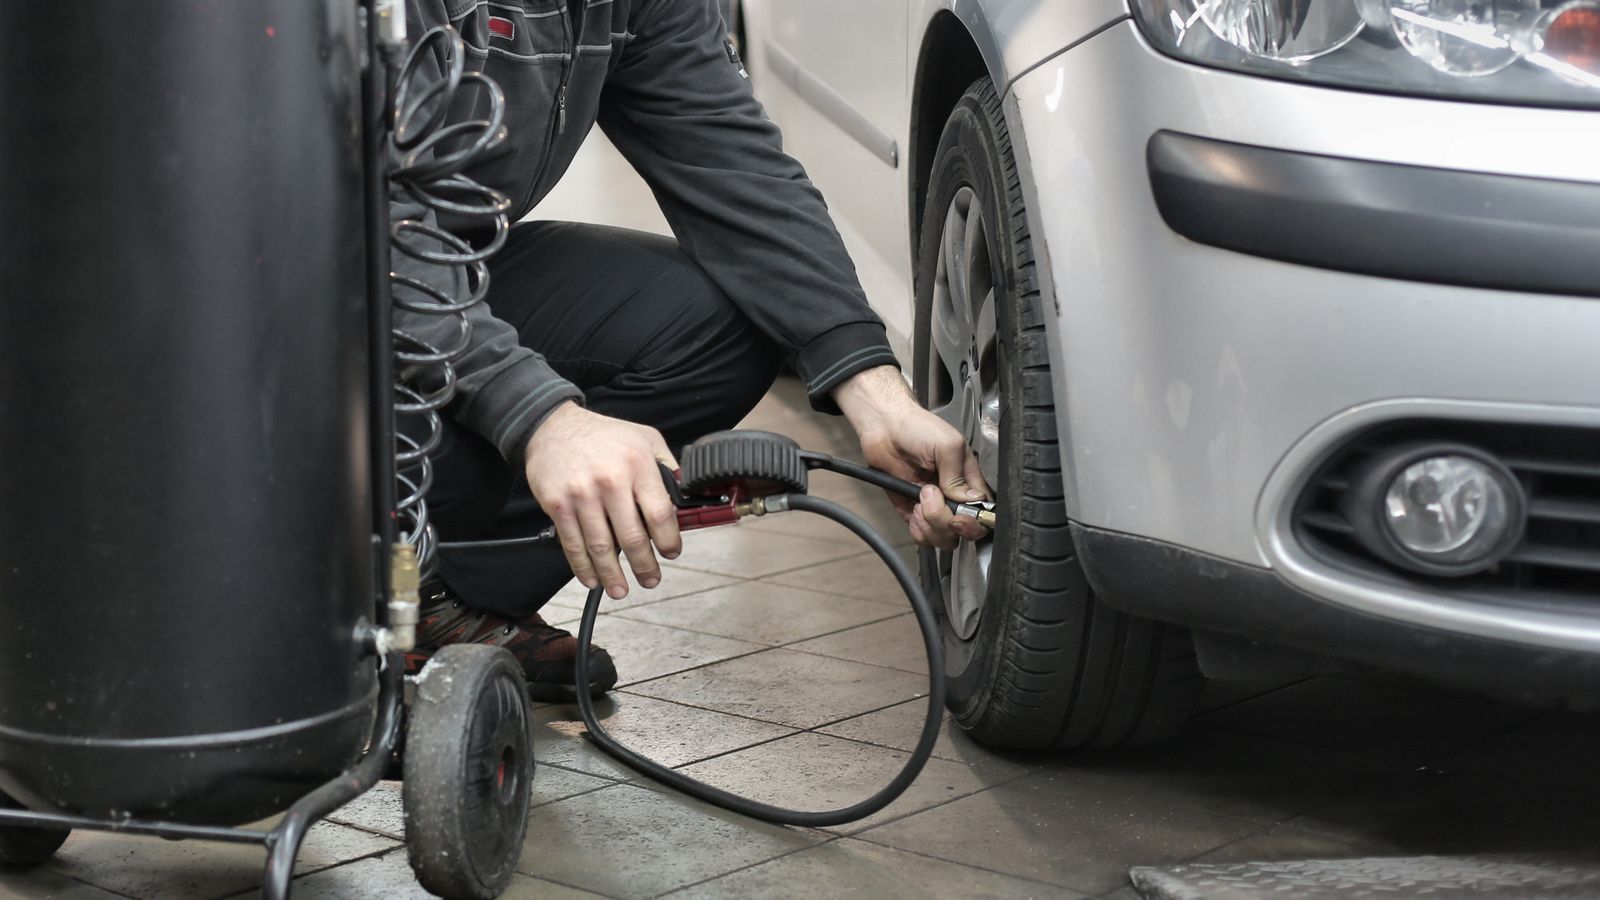
Tire Pressure: The Number on the Door, Not the Tire
The big PSI on the sidewall is a maximum, not a target — and it matters more than you think.
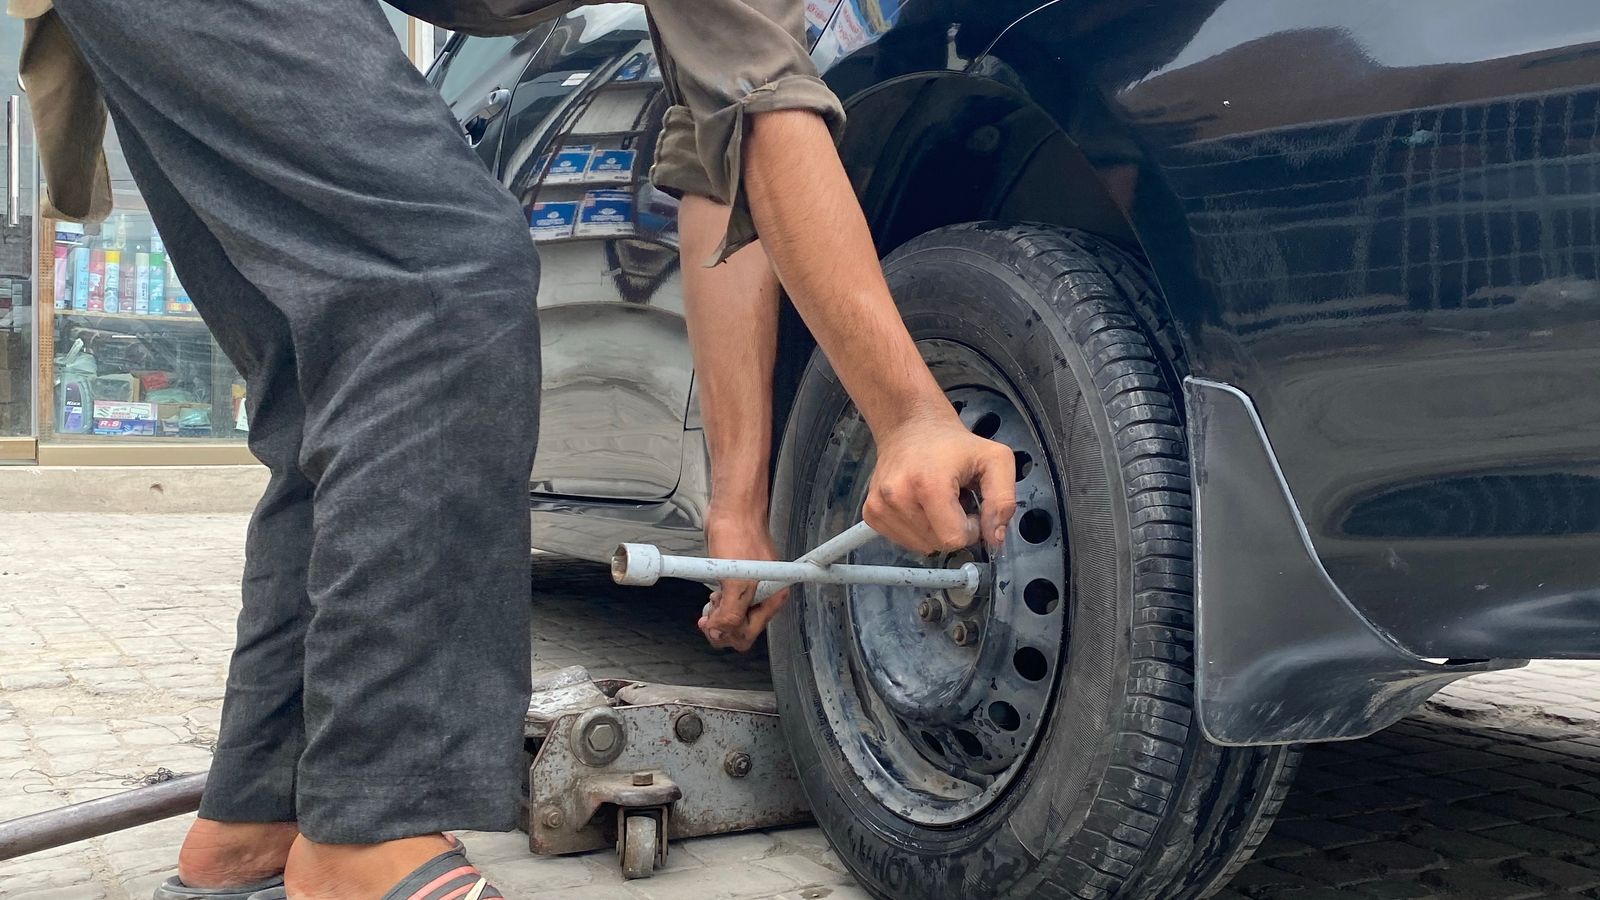
How to Rotate Your Own Tires (And Why It's Worth the Hour)
Even tread wear is basically free money — you're just moving wheels around.
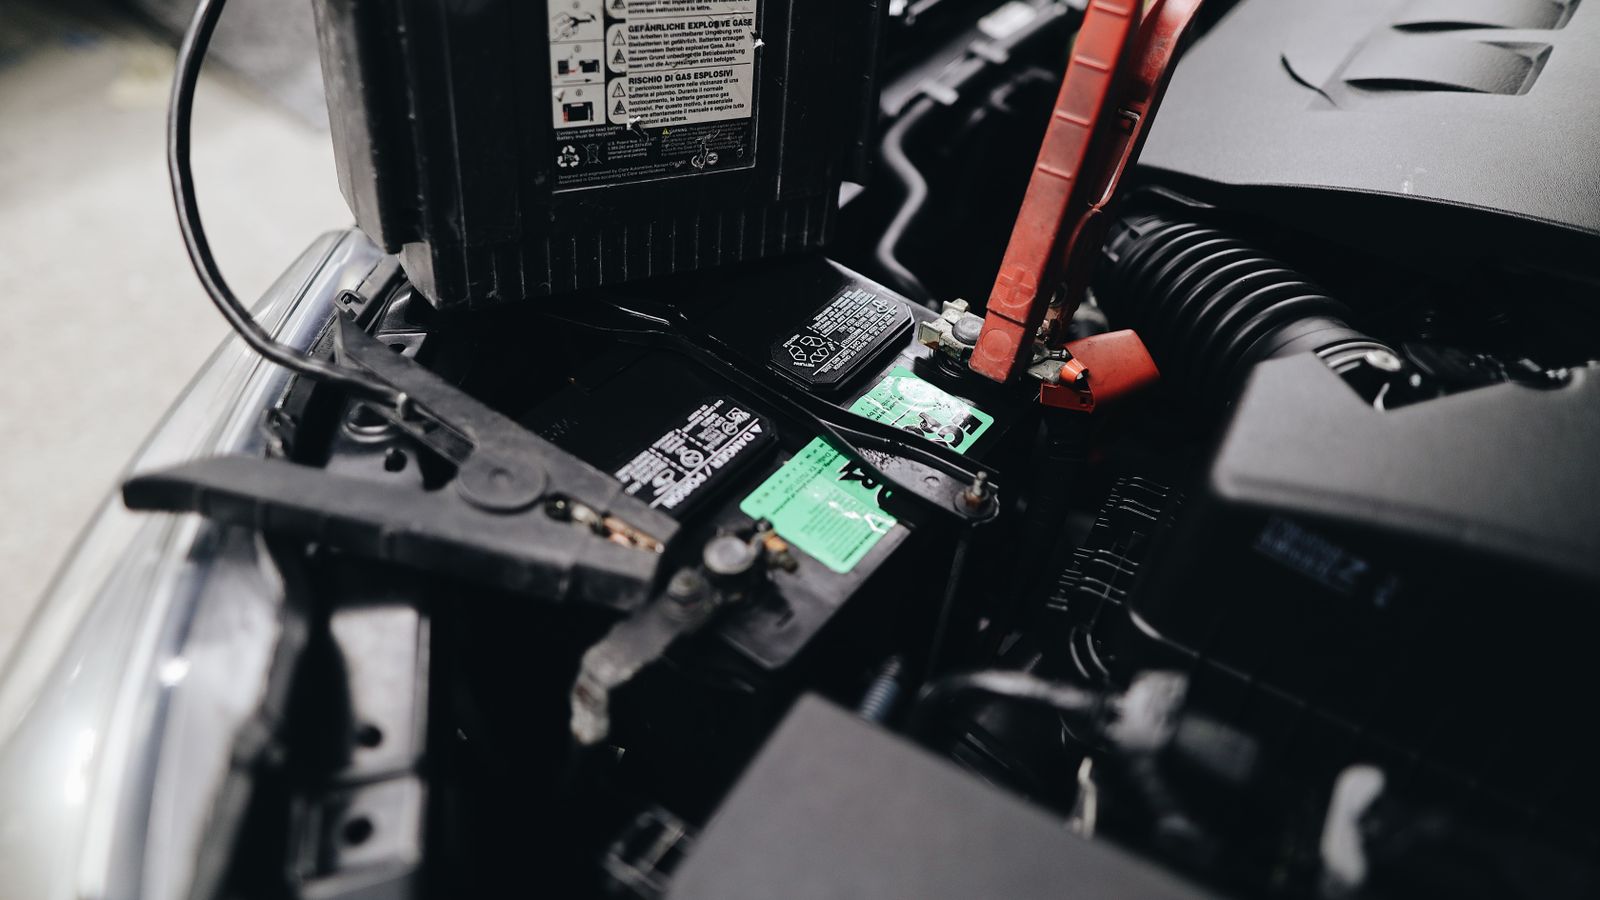
Why Your Car Won't Start: Battery, Starter, or Something Cheaper
What the sound (or silence) when you turn the key tells you — before you tow it anywhere.